Showing posts with label The sweet stuff. Show all posts

Saturday, 24 October 2015

Chewy chocolate slice

Finally, this recipe worked!  I have made a few 'chewy' chocolate slices now and none of them have turned out chewy but were instead dry and crumbly.  With the addition of rolled oats, this slice is chewy and delicious and extremely easy to make.


CHEWY CHOCOLATE SLICE


Ingredients:

  • 125g butter, melted
  • 3/4 cup caster sugar
  • 1 egg
  • 3 Tbspn cocoa
  • 2 Tbspn hot water
  • 1 cup plain flour
  • 1/3 cup self raising flour
  • 1 cup rolled oats
Icing
  • 1 cup icing sugar
  • 2 Tbspn cocoa
  • 2 Tbspn hot water
1. Preheat oven to 160 degrees celcius (fan forced).  Line a slice tin (18cm x 28cm) with baking paper. 

2. In a large bowl, whisk butter and sugar together.  

3. Add egg, cocoa & 2 Tbspn hot water and whisk until very well combined. 

4. Add plain flour self-raising flour.  Stir to combine.  

5. Add oats and stir through.  Pour into tin and press down evenly.

6. Bake in oven for 20 mins.

7. While the slice is baking, make the icing.  Add all ingredients in a bowl and stir to combine.  When slice is removed from the oven, spread the icing over it immediately so it melts across the whole slice.  Refrigerate to set then cut into slices and watch it disappear!


Thursday, 10 September 2015

Banana cake with coffee cream

Bananas are plentiful at the moment and I have a bench full that are getting very ripe, very quickly. This recipe is very moist and quite different to my banana bread recipe which is much more dense.  I am not a coffee drinker but I think a milk coffee icing goes perfectly with this cake.

Enjoy,
Amanda


Banana cake with coffee cream


  • 125g butter, softened
  • 1 cup caster sugar
  • 2 eggs
  • 1/4 cup milk
  • 2 large bananas (mashed)
  • 1 tsp bicarbonate of soda
  • 1 3/4 cups self-raising flour
Coffee cream
  • 1 tsp instant coffee granules
  • 1 1/2 Tbspn boiling water
  • 2 cups icing sugar, sifted
  • 1 Tbspn butter, softened
  • 1/4 cup toasted coconut (optional)

1. Preheat oven to 180 degrees C.  Grease a 20cm round cake tin.

2. In a small bowl, beat butter and sugar with an electric mixer until light and fluffy.

3. Add eggs and beat well.

4. Add milk and bananas and beat until combined.

5. Sift in bi-carb and flour and fold through.

6. Pour into cake tin and bake for 40 - 45 mins or until cooked through.  If cake is browning too quickly, cover with a sheet of baking paper to prevent the top from burning.

7. Remove from oven and leave in tin for 5 mins.  Turn out onto wire rack to cool.


Icing

8.  Dissolve coffee in boiling water.  Add to a small bowl with icing sugar and butter.  Beat until smooth.  Spread over cake and top with toasted coconut.


Sunday, 16 August 2015

Choc chip muffins

You don't need any fancy equipment for this recipe - no thermomix, no electric mixer - just a large bowl and whisk. They only take a few minutes to make and taste delicious! Great for lunchboxes or to keep in the freezer for emergencies.

Enjoy
Amanda
(Simple home cook)


Choc chip muffins


  • 125g butter
  • 1 egg
  • 3/4 cup milk
  • 1 Tbspn honey
  • 1/2 cup brown sugar
  • 2 cups self-raising flour
  • 3/4 cup choc chips


1. Preheat oven to 180 degrees C.  Liine a 12 muffin pan with cases.  I ran out of cases so I just cut up some baking paper into squares and pushed them into the muffin pan instead.

2. In a large microwave bowl, add butter.  Microwave until melted.

3. Add egg, milk & honey.  Whisk until combined.

4. Add sugar & flour and mix well.

5. Add choc chips and stir through.


6. Spoon evenly into cases and bake in oven for 18 mins or until cooked through.


Thursday, 2 April 2015

Homemade hot cross buns

These come with a warning on a few levels:

  • They taste amazing so be careful you don't eat the whole tray!
  • They take a lot of effort and patience to make - much, much more than simply picking up a packet from a supermarket.
  • I wouldn't call them 'simple' to make and wouldn't usually post a recipe with this much effort but since it is Easter, many of us are wanting to do something special and this recipe is exactly that, special!
  • If you are going to try it - you MUST use 'bakers flour' - not plain flour.  I have made this rookie error a few times because I was just being stubborn but don't waste your time with plain flour - they don't turn out any where near as good. 
I certainly don't blame you if you look at this recipe and think "NO WAY"  but I just wanted to try it and judging by the comments on my earlier post, some of you may want to as well. 

I found this recipe on the Thermomix recipe community website and adapted it to try and cut down a few steps.  (http://www.recipecommunity.com.au/baking-sweet-recipes/best-hot-cross-buns-light-fluffy/152095)

I have included both TMX and non-TMX versions depending on what equipment you have at home. 

Happy Easter and goodluck!!

Amanda xx


INGREDIENTS

Dough

  • 4 tsp dry/instant yeast
  • 620 g bakers flour - not ordinary plain flour
  • 50 g sugar
  • 380 g milk
  • 1.5 tsp salt
  • 2 tsp cinnamon
  • 2 tsp mixed spice
  • 60 g Butter
  • 1 egg
  • 250 g sultanas
Paste for Crosses

  • 90 g bakers or plain flour
  • 100 g water
  • 1 pinch salt
  • 1 tbsp olive oil
Glaze

  • 2 tbsp water
  • 2 tbsp sugar

THE THERMOMIX WAY

1.  Add milk and yeast into TMX bowl and heat for 3 mins, 37 degrees, speed 1. 

2.  Add in all other dough ingredients (excl sultanas) and mix for 15 seconds, speed 7. 

3. Knead for 2 mins.

4. Add sultanas and knead for a further minute. 

5. Place in a large bowl, cover and allow to sit somewhere warm for 1 hr or until doubled in size. 

6. Once risen, punch dough down then turn out onto a floured surface and knead with your hands for a few minutes to bring it all together. 

7. Divide dough into approx 18 small balls and place close together on a lined oven tray.

8. Set aside for approx 20 mins and allow buns to rise.

9. Preheat oven to 200 degrees C.  You can now pipe the crosses onto the buns or skip this step altogether.  To make the crosses, mix together flour, water, salt and oil.  Mix for 30 seconds, speed 4. Scoop into a zip lock bag and snip off the end.  Pipe the crosses onto the buns. 

10.  Place in preheated oven for 20 mins or until golden and cooked through. If you feel they are browning a little too quickly, cover the top with baking paper. 

11.  Remove from the oven and make the glaze.  Add water and sugar into TMX and cook 2 mins, 100 degrees, speed 4.   Brush buns with hot syrup. 

AND FINALLY.... EAT!


THE NON-THERMOMIX WAY

I will be honest when I say that I haven't tried this method yet.  I have just converted the TMX version for all of you who don't have one.  The process is the same but you need to use your microwave and electric mixer instead. 

1. Warm the milk in the microwave for 2 mins.  Pour into a large mixing bowl.  Add yeast.  Whisk until combined. 

2.  Add in all other dough ingredients (excl sultanas) and mix together using the dough hooks of your electric mixer. Knead until it is a smooth dough consistency.

3.  Add sultanas and continue to knead until sultanas are incorporated into the dough. 

4.  Cover and set aside somewhere warm for 1 hr or until doubled in size. 

5. Once risen, punch dough down then turn out onto a floured surface and knead with your hands for a few minutes to bring it all together. 

6. Divide dough into approx 18 small balls and place close together on a lined oven tray.

7. Set aside for approx 20 mins and allow buns to rise.

9. Preheat oven to 200 degrees C.  You can now pipe the crosses onto the buns or skip this step altogether.  To make the crosses, mix together flour, water, salt and oil in a bowl.  Whisk until it forms a smooth paste. Scoop into a zip lock bag and snip off the end.  Pipe the crosses onto the buns. 

10.  Place in preheated oven for 20 mins or until golden and cooked through. If you feel they are browning a little too quickly, cover the top with baking paper. 

11.  Remove from the oven and make the glaze.  Add water and sugar into a small bowl and stir to combine. Microwave for 30 seconds, stir until the sugar has dissolved. You may need to microwave again.  Brush buns with hot syrup. 

AND FINALLY.... EAT!


Monday, 23 March 2015

Strawberry pavlova roll

If you are planning something special this weekend, why not try this - Strawberry Pavlova Roll.  It is easier than it looks and tastes amazing. Best of all you can make it ahead of time so you only need to slice and eat when it is time for dessert.

Enjoy,
Amanda xx


STRAWBERRY PAVLOVA ROLL
  • 4 egg whites
  • ¾ cup caster sugar
  • 1 tsp vinegar
  • 1 tsp cornflour
  • 1 tsp vanilla essence (or 1/2 tsp vanilla extract)
  • 300ml thickened cream
  • 250g strawberries, chopped
  • 1 passionfruit 

1. Preheat oven to 175oC. Line a swiss roll tin (22cm x 32cm) or similar size baking tray with baking paper.

2. In a large bowl, beat egg whites until soft peaks form. Slowly add sugar & continue beating until mixture is smooth & glossy & all sugar is dissolved.

3. Fold through vinegar, cornflour & vanilla.

4. Pour into lined tin & spread out evenly. Bake in preheated oven for 15 mins.

5. Allow to cool completely in tin before turning out onto a sheet of baking paper sprinkled with caster sugar.

6. Whip cream. Spread over meringue & cover with chopped strawberries (reserving some to decorate the top of the roll).

7. Roll up from the long side & place on a plate, still covered with baking paper. Can be refrigerated for up to 24 hours before serving.

8. Top with extra cream, strawberries & passionfruit just prior to serving.

Saturday, 14 March 2015

Apple crumble cake

This recipe was an experiment when I was working on my second cookbook (which isn't published yet) and it turned out to be one of my favourite cakes, especially with vanilla custard poured over it.  It is like an apple tea cake with a delicious crumble topping.  Perfect with a cup of tea or coffee for that afternoon break.

Enjoy!
Amanda xx


APPLE CRUMBLE CAKE

Cake
100g butter, softened
½ cup caster sugar
1 egg
1 cup self-raising flour
1/3  cup milk
3 granny smith apples

Crumble
50g chilled butter, chopped
½ cup flour (self-raising or plain)
½ cup brown sugar, firmly packed
½ tsp cinnamon


Preheat oven to 180oC. Grease a 20cm cake tin.

In a large bowl, add cake ingredients; butter, caster sugar, egg, self-raising flour & milk.

Peel & core apples.  Slice into pieces approx. ½ cm thick. Lay on top of cake batter.

In a bowl, add crumble ingredients; chilled butter & flour.  Rub together with fingertips until it resembles breadcrumbs.

Add sugar & cinnamon & stir to combine.  Sprinkle over the top of the cake.

Bake in preheated oven for 40 mins or until   cooked through.

Monday, 16 February 2015

Homemade Vanilla Custard

I love homemade vanilla custard and yes... I have a thermomix to do it for me but I wanted to show you that it is so easy to make at home without a thermomix.  With minimal ingredients and only 15 mins, the end result is a beautiful custard that you can eat warm or cold poured over your favourite treat.  My favourite would have to be vanilla custard poured over sliced banana - YUM!!

Enjoy,
Amanda


HOMEMADE VANILLA CUSTARD
15 mins from start to finish
  • 2 eggs
  • 3 cups milk
  • 3 Tbspn cornflour
  • 3 Tbspn raw sugar (or any sugar you prefer)
  • 1 tsp vanilla extract

1. In a saucepan, add eggs, milk and cornflour.  Whisk together until smooth.

2. Over high heat, whisk the mixture until it starts to heat up.  Once the temp of the milk increases and the mixture starts to thicken, reduce to low/med heat and whisk until thick & creamy. This will take approx 7 mins. 

3. Remove from heat & whisk in sugar and vanilla.  Add extra sugar if you like it sweeter. 

4. Eat warm or place into a bowl & refrigerate until cold. To stop a skin from forming over the top, cover with cling wrap & let the cling wrap sit on the surface of the custard as show in the picture below.  When you remove from the fridge, it will be thick so you will need to give it a good whisk to remove any lumps & make it smooth & creamy.


Thursday, 22 January 2015

Gingerbread cakes

What a great combination of gingerbread biscuits and cake - gingerbread cakes.  Why not!!
They are delicious on their own but even better with lemon icing drizzled over them. They keep well in the freezer and can be popped into lunchboxes frozen as they will be thawed by lunch time and of course....perfect with a cup of tea.

Enjoy
Amanda


GINGERBREAD CAKES


  • 125g butter, chopped
  • ½ cup brown sugar, packed
  • ½ cup maple/golden syrup
  • ½ cup milk
  • ½ tsp bicarbonate of soda
  • 2 eggs
  • 1 ½ cups self-raising flour, sifted
  • 1 Tbspn ground ginger
  • 1 tsp cinnamon


Icing

  • 1 cup icing sugar, sifted
  • 1 Tbspn lemon juice
  • 1 tsp water

Preheat oven to 160°C. Grease 12 muffin pan or line with cases.

In a large saucepan, add butter, sugar, maple syrup & milk. Stir over medium heat until ingredients are combined & sugar is dissolved.

Remove from heat & stir in bicarb soda.  Set aside to cool for 5 mins.

Add eggs & whisk until combined.

Sift in flour, ginger & cinnamon & whisk until smooth. Spoon into muffin cases & bake in preheated oven for 18 mins. Remove from oven & transfer to wire rack to cool.

Icing

Add icing sugar, lemon juice & water into a bowl & stir until smooth.  Drizzle over cakes & let sit for 10 mins to allow icing to set.


Monday, 12 January 2015

Choc cherry balls

These delicious balls are so easy to throw together and the pink coconut makes the kids think that they are eating something totally unhealthy and naughty.  In actual fact, they aren't too bad at all which makes them perfect for an after dinner dessert or lunch box item. We love them and they are a regular at our place.

You can replace the glace cherries with dried cherries, dried cranberries or other fruit that you prefer.

Enjoy
Amanda xx


Choc Cherry balls
Makes 18 balls
  • 1 1/2 cups desiccated coconut (135g)
  • 1 cup pitted dates (140g)
  • 3/4 cup glace cherries (or dried cherries)
  • 1 1/2 Tbspn cocoa
  • extra 1/2 cup coconut to roll with a few drops of pink colouring
Add coconut, dates, cherries and cocoa into a food processor.  Process until the ingredients blend together and form a sticky dough. 

In a small bowl, add the extra 1/2 cup coconut and a few drops of pink colouring.  

Using your hands, roll the mixture into balls (approx tablespoon size) and roll in the coconut to coat.

Place in an airtight container lined with baking paper and refrigerate until hard - this may take a few hours. 

Monday, 29 December 2014

Gingerbread cheesecake

I love gingerbread and I love cheesecake even more so why not combine them to make one hell of a dessert.  This was an experiment but thankfully it turned out well and everyone who tried it, loved it!


Gingerbread cheesecake

The first step is to line a 22cm round springform tin.  Line the base and sides as shown in the picture.


Base

You have 2 options for the base:

1. Making gingerbread and processing it into crumbs to form the base.

You can use any gingerbread recipe you like and mine is here if you need it >>Gingerbread recipe. Instead of turning the dough into small biscuits, I just rolled it flat and plonked it in pieces onto a tray before baking.  You will need 200g biscuits to crush up to make the base which is approx half of the mixture. You can use the rest of the mixture to make biscuits to serve with the cake. '


Using a food processor, process 200g gingerbread into crumbs. You can also do this by hand by placing the biscuits into a zip lock bag and crushing them with a rolling pin. Add crumbs into a large bowl and mix with 100g melted butter.  Stir to combine and pour into a 22cm round springform tin.  Press down firmly to form an even base.


2. Using pre-made gingernut biscuits and melted butter.

In a food processor, place 200g biscuits and process into crumbs. You can also do this by hand by placing the biscuits in a zip lock bag and crushing them with a rolling pin.  Add biscuits into a large bowl and add 100g melted butter.  Stir to combine and press into a 22cm round springform tin. Press down firmly to form an even base.


Filling
  • 2 x 250g cream cheese
  • 2 x 400g tins condensed milk
  • 1 tsp ground ginger
  • 1/2 tsp mixed spice
  • 3 Tbspn golden/maple syrup
  • 1 Tbspn edible gelatine powder

In a large bowl, beat cream cheese until smooth.  Gradually add condensed milk and beat continuously until smooth.

Add ginger, mixed spice and golden syrup and beat to combine. 

In a separate cup, mix gelatine and boiling water.  Stir until gelatine is dissolved. Add to the cream cheese mixture and beat to combine.  

Pour into springform tin over the biscuit base.  Refrigerate until set which is usually 5 hours but overnight is best.  Slice and serve and would be great served with fresh cream.


I made this for a friends birthday and used the leftover gingerbread to make a 40 biscuit to place on top of the cake.  


Tuesday, 16 December 2014

Step by step guide to making a Christmas pudding

For me, Christmas pudding is the most important food item on my table on Christmas day.  Since enjoying a homemade pudding many years ago, there is no going back and even though they take a bit of effort and a whole lot of time to boil away on the stove, when you smell and taste it -  it is worth every minute!

You can make them months in advance or days in advance and I made our Christmas pudding today.  It is actually really easy but does involve a few steps so I have tried to list them in detail below with photos to make it easy to follow.

I am not sure if many of you can be bothered going to this effort when you can pick one up from the shops but if you are thinking about it, I would definitely urge you to give it a go for Christmas this year and I promise you won't be disappointed.  It feeds a large group (approx 12) and served with brandy sauce, custard or icecream (or all 3) it will be the hit of the day.

Extra things you will need - some calico cloth (approx 70cm x 70cm).  You can buy this from Spotlight, Lincraft or other haberdashery store.  You will also need some string to tie up the pudding.

Let me know how you go,
Amanda


Christmas pudding

  • 250g butter
  • 1 cup brown sugar
  • 5 eggs
  • 2 Tbspn golden syrup
  • 1 cup plain flour
  • 1 tsp mixed spice
  • 1 tsp nutmeg
  • 1 tsp cinnamon
  • ½ tsp bicarbonate of soda
  • 1 cup breadcrumbs
  • ½ cup brandy or sherry
  • 250g sultanas
  • 250g currants
  • 250g raisins
  • Pudding cloth 70cm x 70cm
  • string


1. In a large bowl, add sultanas, currants & raisins. Pour brandy over fruit. Cover & leave
overnight.


2. In a large bowl, beat butter & sugar for 5 mins or until creamy. Gradually add eggs & beat
well. Add golden syrup & beat to combine. Don't be alarmed if the mixture is very sloppy.


3. In a separate bowl, mix together flour, spices &bicarb of soda. Add this to the butter mixture
& beat to combine.

4. Add breadcrumbs & beat well.


5. Add fruit & brandy mixture & beat well.


6. Dip pudding cloth into boiling water & spread out into the inside of a large empty bowl.
Sprinkle the cloth with sifted flour to prevent the pudding sticking to the cloth.


7. Tip mixture into cloth. Pull each side of the cloth up to fully enclose the mixture. Approx
3cm above the top of the pudding, tie up the cloth as tightly as possible with string.


8. Fill a large pot, half way with water & bring to the boil. Place wrapped pudding into pot.
Reduce to medium heat & gently boil for 4 hrs. *Optional - pop half an orange into boiling
water & leave during cooking time. Check water level during cooking time & top up
water if required.


9. Remove the pudding from the water & hang on a coat hanger hook until the cloth dries
(usually overnight).


10. Refrigerate or freeze until required.

11. Just prior to eating, boil the pudding for an additional 1 hr.  Serve warm or cold with custard or ice cream.


NOTES:

• For the pudding cloth I used calico which can be purchased from haberdashery stores such as Lincraft, Spotlight etc.

• In step 7, ensure you leave 3cm between the top of the pudding & the
string as the pudding expands during cooking.

Friday, 12 December 2014

Funny faces

This is a great recipe to make with your kids these school holidays. You can use anything you like to decorate them, just raid your pantry and let your creative juices flow.

Kids love making them, adults love eating them  

Enjoy,
Amanda
These are some that I made - 


These are some my son made (LOL!) - 


FUNNY FACES

  • ¾ cup melted butter
  • ¾ cup caster sugar
  • 2 eggs
  • 1 tsp vanilla essence
  • 2 ½ cups plain flour
  • 1 tsp baking powder
  • 2 Tbspn icing sugar - for decorating
  • lollies, teeth & sprinkles to decorate 

1. In a large bowl, mix melted butter, sugar, eggs and vanilla and whisk until combined.

2. Stir in flour & baking powder until a soft dough forms. Wrap dough in plastic wrap and freeze for 30 mins or until firm. 


3. Preheat oven to 200°C. Line 2 trays with baking paper.

4. Roll out dough on floured surface aprox ½ cm thick. Cut out circles using the rim of a glass. Place on baking trays. Repeat with remaining dough. 


5. Bake for 6 - 8 mins or until golden. Remove from oven & allow to cool completely.

6. Mix icing sugar with a few drops of water to make a thick paste. Use this to stick the lollies & sprinkles onto the biscuits to make your funny faces.


Tuesday, 11 November 2014

Gingernut biscuits

This post comes with a warning - these biscuits are so good that they may lead to overeating....  
The ginger & orange rind combination make these cookies taste and smell absolutely divine and are undoubtedly the best gingernuts I have ever eaten. Bake them for 15 mins and they will be soft & chewy, leave them a little longer for a crunchier biscuit. 

Give them a go today.
Enjoy,
Amanda x


GINGERNUT BISCUITS

  • 2 ½ cups self-raising flour
  • pinch salt
  • 1 Tbspn ground ginger
  • 1 tsp bicarbonate of soda
  • ¾ cup caster sugar
  • 125g butter
  • ¼ cup golden syrup
  • 1 egg
  • 1 ½ tsp grated orange rind


1. Preheat oven to 160 degrees C. Line 2 oven trays.

2. In a large bowl, sift flour, salt, ginger & bicarb soda.  Add sugar & stir to combine.

3. In a separate bowl, add butter & golden syrup.  Heat in microwave for 1 to 1½ mins or until they have melted together.   Stir to combine & pour over dry ingredients. 


4. Add egg and orange rind & mix to form a stiff dough. 


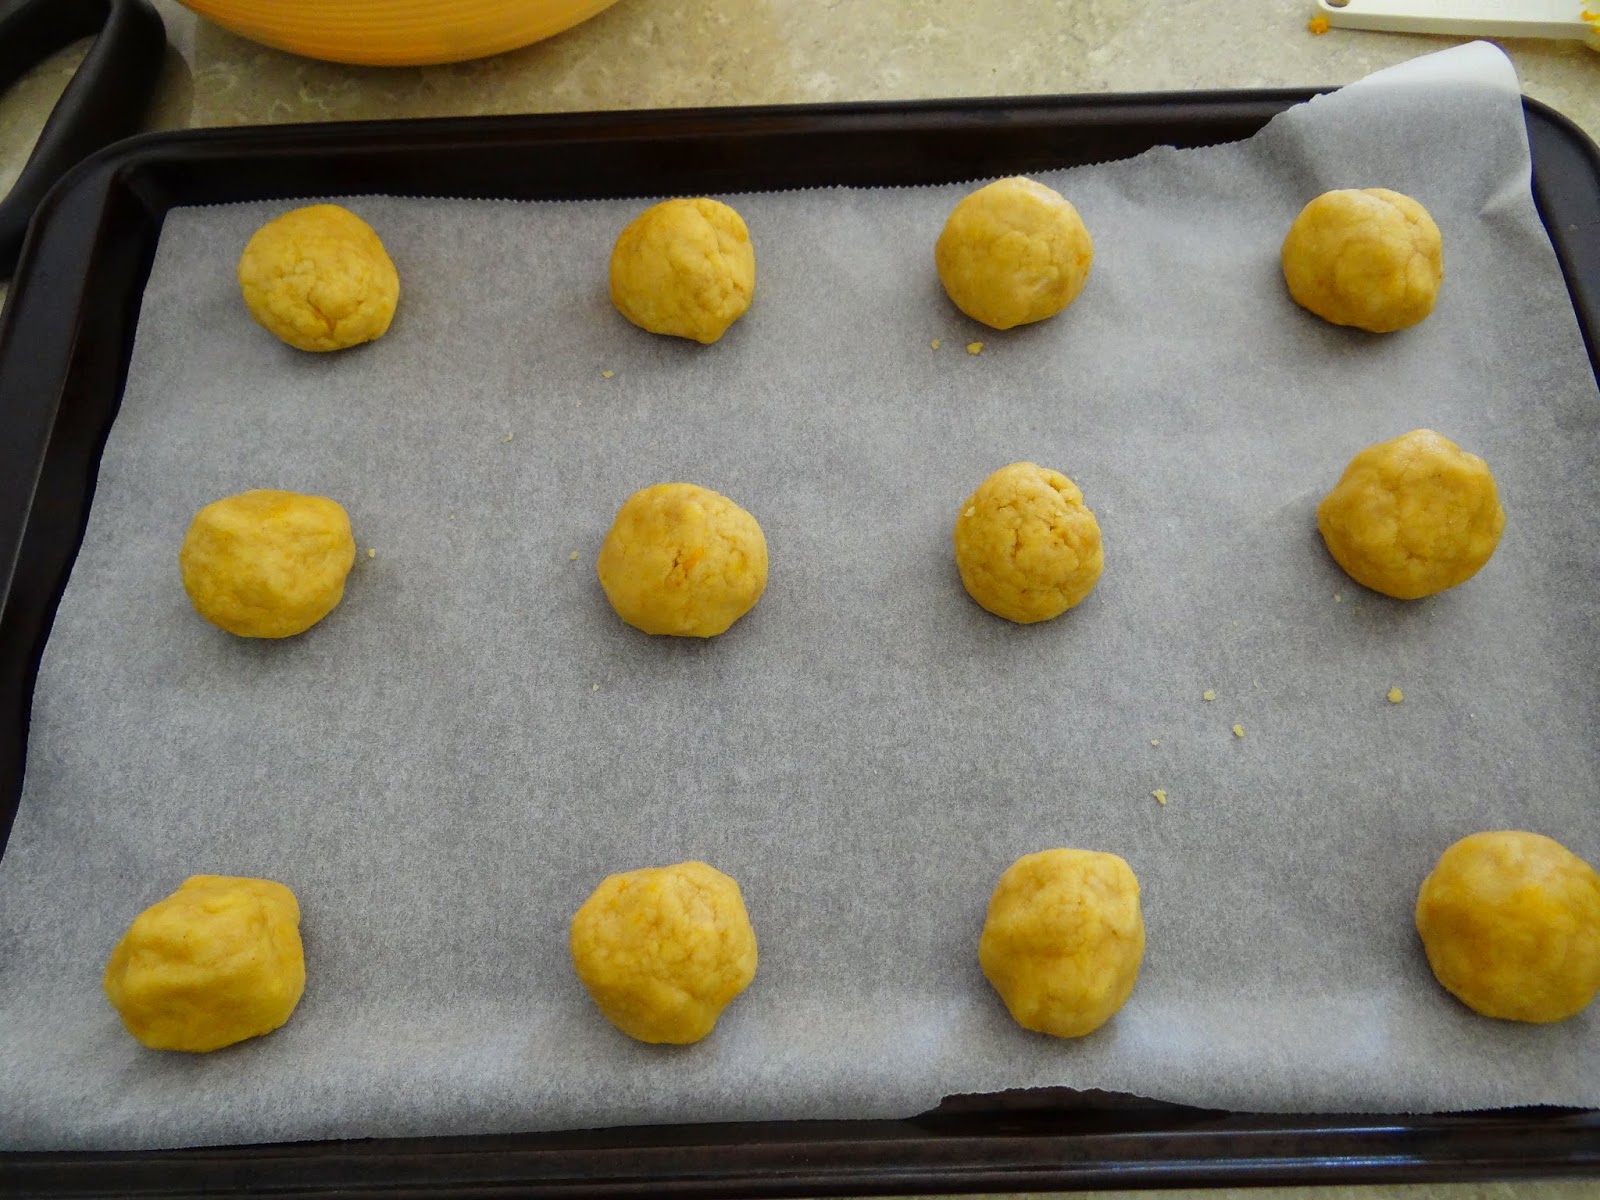
5. Using a tablespoon measure, scoop up 1 Tbspn mixture & form into a ball.  Place on oven tray & repeat with remaining mixture.  Leave room between biscuits for spreading.  Lightly flatten balls with your fingers.  


6. Bake in preheated oven for 15 mins. NOTE: Bake them for 15 mins and they will be soft & chewy, leave them a little longer for a crunchier biscuit. Remove from oven & trf to wire rack to cool.

Eat in moderation!


Wednesday, 29 October 2014

Choc cornflake slice

This recipe is very simple and only takes 10 mins to put together.  The best part is that you probably have all of these ingredients in your kitchen already.   You can spread it with chocolate icing while the slice is still warm or wait until it cools, then dust with icing sugar - the choice is yours.  I like it both ways but my kids prefer it with icing (of course). The icing is simple to make and only takes 1 min so why not!

It is great to enjoy with a cup of tea or an afternoon snack for the kids.

Cheers,
Amanda xx

Without icing ..


With icing... 


CHOC CORNFLAKE SLICE

  • 125g butter
  • 2 Tbspn maple or golden syrup
  • 1 ½ cups self-raising flour, sifted
  • 1 Tbspn cocoa
  • ½ cup desiccated coconut
  • ½ cup brown sugar, loose
  • 1 cup cornflakes


Step 1 - Preheat oven to 160oC. Line a slice tin (18cm x 28cm) with baking paper.

Step 2 - In a large microwave safe bowl, add butter & syrup and microwave for 1 min or until melted together.  Stir to combine.

Step 3 - Add sifted flour & cocoa. 
  
Step 4 - Add coconut, sugar & cornflakes.  Stir to combine. 


Step 5 - Pour into slice tin & press down firmly. Bake in preheated oven for 20 mins.  


Step 6 - Remove from oven. Refrigerate to set then slice into pieces.  Optional ** while slice is still warm, spread with chocolate icing (see note below).


The easiest chocolate icing for this slice is to mix the following together:
  • 1 cup icing sugar
  • 1 Tbspn cocoa
  • 1 Tbspn warm water.