Sunday, 16 November 2014

Gingerbread bites - turn one ball of dough into 380 mini cookies


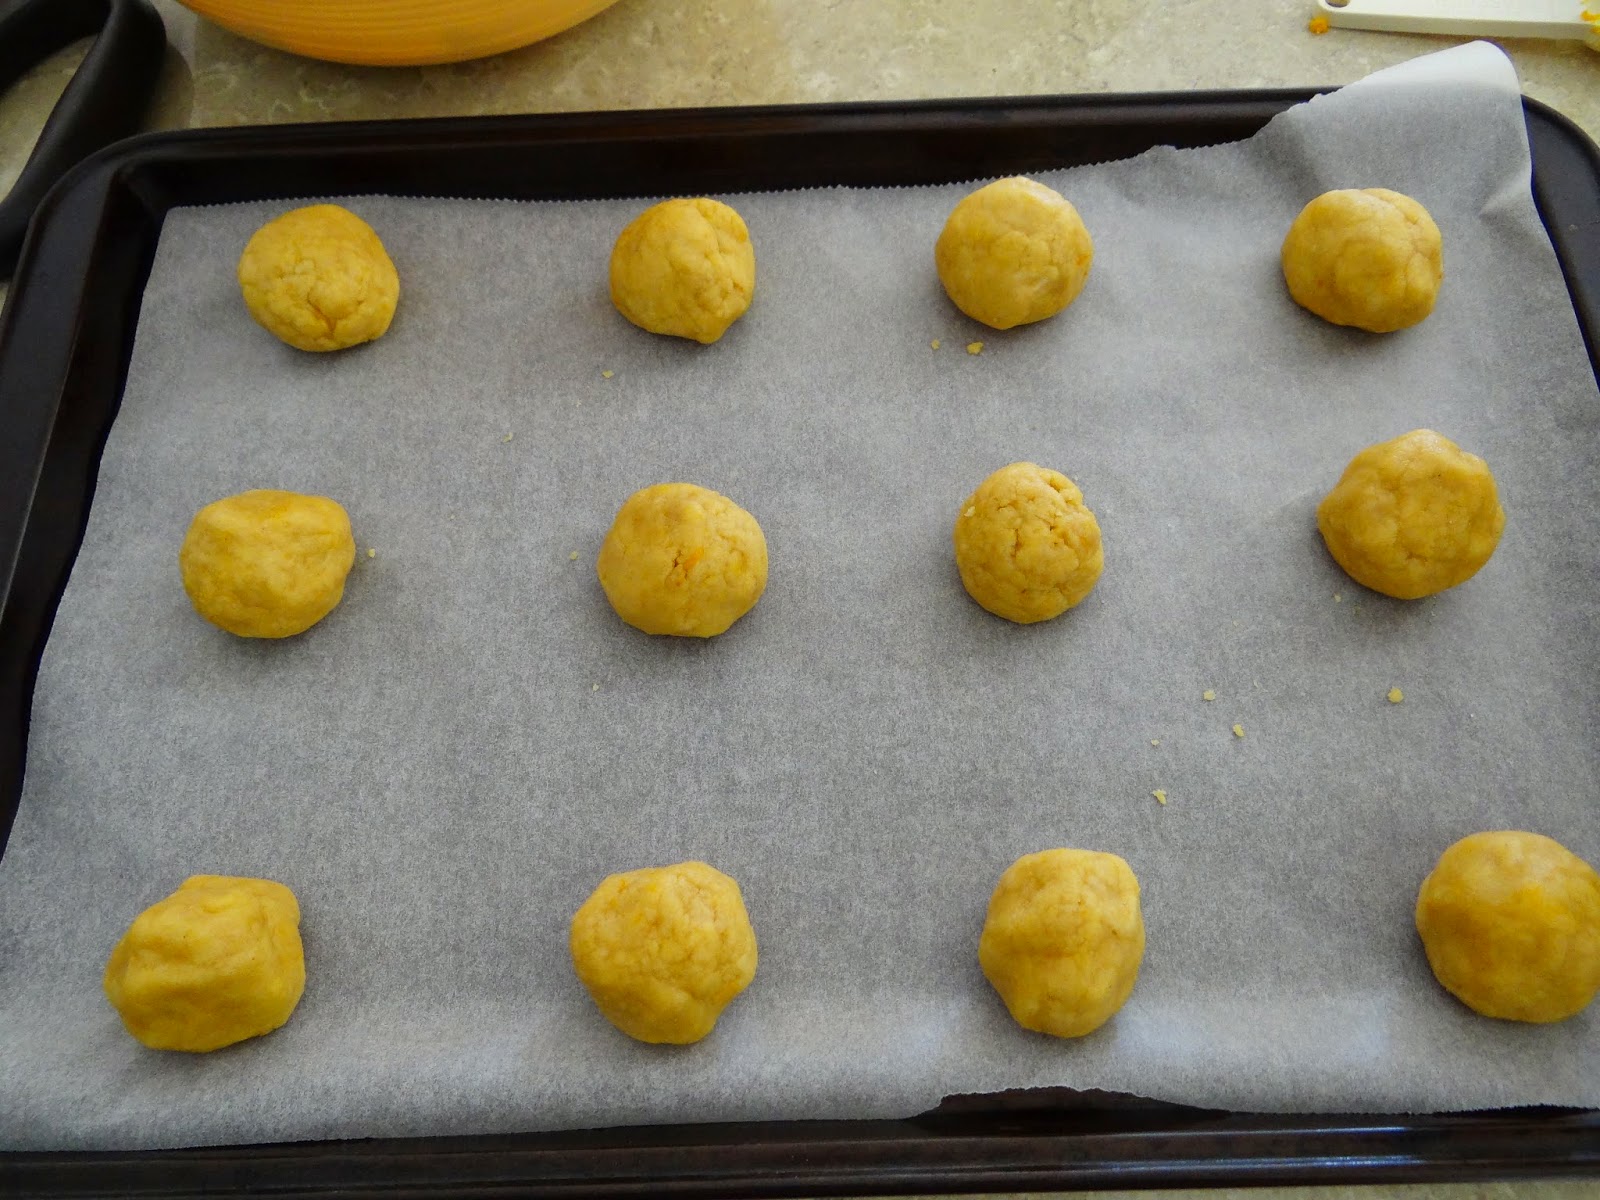
A few months ago I turned an ordinary recipe for biscuits into a mountain of tiny cookies (recipe here http://aldihomecook.blogspot.com.au/2014/09/mini-sprinkle-bikkies.html).  My kids LOVED them! Instead of making them again with the same recipe, this time I tried them with my gingerbread recipe and they turned out even better.

 A small ball of dough turns into 380 cookies and fills 2 large jars to store in the pantry.

Keep in mind that it does take a bit of time to cut out 380 biscuits but a simpler and much quicker way would be to cut the dough into tiny squares (1cm x 1cm) using a knife.  I actually used an apple corer (as a cookie cutter) that I purchased from ALDI within the last year but have never used.  Now I have found the perfect use for it :)

Enjoy,
Amanda


GINGERBREAD BITES
  • 125g butter, softened
  • ½ cup brown sugar
  • ½ cup maple or golden syrup
  • 1 egg yolk
  • 2 ½ cups plain flour
  • 1 Tbspn ground ginger
  • 1 tsp mixed spice (optional)
  • 1 tsp bicarbonate of soda

Step 1 - In a large bowl, add butter & sugar & beat together until well combined. Add egg yolk and syrup & beat until combined. 


Step 2 - Sift in flour, ginger, spice & bicarb soda. Stir until combined.  Bring together with your hands & knead of a lightly floured surface. 


Step 3 - Flatten dough and cover with plastic wrap. Freeze for 20 mins to allow the dough to firm up. 

Step 4 - Preheat oven to 180oC

Step 5 - On the kitchen bench (heavily sprinkled with flour) roll out dough to approx 3-5mm thick. Using a small shape cutter or utensil, cut out small biscuits & place them on baking trays lined with baking paper. I used an apple correr that I bought from ALDI.  A simple way would be to cut the pastry with a knife into small squares approx 1cm x 1cm and place the squares onto the baking paper.


Step 6 - Bake for 8 - 10 mins or until golden.  Repeat with remaining dough. 


I have also made this recipe with a basic biscuit mixture with 100 & 1000's mixed in. Recipe here --> http://aldihomecook.blogspot.com.au/2014/09/mini-sprinkle-bikkies.html


Saturday, 15 November 2014

Lamb kofta

It has been a scorcher in Queensland today and it was so lovely sitting out in the cool breeze tonight enjoying a BBQ. I plan to have to many BBQ's over summer and hope to be able to share some great recipes with you over the coming weeks.

This one is Lamb kofta and is great on it's own with a salad but tonight we wrapped them in Lebanese bread with homemade salsa, salad, hommus and tatziki dip.  It certainly was a hit with my whole family & there were no leftover scraps for our chooks.

I hope you enjoy it,
Amanda x


Lamb kofta

Makes 7

  • 500g lamb or beef mince
  • 1 egg
  • 1 clove garlic, crushed
  • 1 tsp grated lemon rind
  • ¼ red onion - very finely diced
  • 1 tsp chopped parsley
  • ½ cup breadcrumbs
1. Soak wooden skewers in water.  Soaking will prevent them from burning while cooking.  You can also use metal skewers or none at all.

2. In a large bowl, add all ingredients.  Using both hands, mix together until well combined. 


3. Form into a sausage shape around the skewers.  If not using skewers, just make into a sausage shape.  At this stage you can cover & refrigerate until you need them (for up to 1 day).


4.  Heat the BBQ to medium heat & cook koftas for approx 15 mins or until cooked through.


Serve with hommus & tatziki dip, tabouli, salsa, Lebanese bread, salad or whatever you prefer.


HOME MADE SALSA

With the left over red onion & lemon, I mixed together a few ingredients to make a delicious salsa.  

I used:
  • 3 tomatoes, diced
  • 1 clove garlic, crushed
  • 1 avocado, diced
  • a small amount of red onion, finely diced
  • a large squeeze of lemon juice
  • salt


Friday, 14 November 2014

Change of name from 'Food before 5' to 'Simple home cook'


I have spent the last 2 years and thousands of hours writing a cookbook and building a brand around that cookbook.  I originally thought the name 'Food before 5' was fantastic and represented the recipes in my cookbook - recipes that can be made before 5pm.  It was my goal to bring together recipes that can be made earlier in the day (if you prefer) and simply reheated at dinner time so you don't have to cook at that time of day which is difficult for many families.

I realised that I may have got it wrong with my brand when I arrived at my first market. I got up at 5am, had my table all set up, LOTS of sample food prepared and cookbooks on display.  I was so excited but found I could hardly get people to come over to my table.  They would read my banner from afar and look confused by the brand.  For those who did come over, they loved the book and bought a copy but the difficulty was getting people to look at it.

People have asked me questions like:

  • "Is it food for 5 people?"
  • "Is it 5 ingredients?"
  • "Is it daytime food only, because it is before 5pm?"
So... over the past year, I have started to regret the name that I chose.  I felt somewhat disheartened and I didn't get it right first time. But sometimes you have to admit your mistakes and try to change them before it is too late.  That is what I am trying to do now.

'Food before 5' is now officially 'Simple home cook'.  I am excited by this change as I think the new name does actually reflect the recipes that I cook.  They ARE simple, very simple, cheap & suitable for any home cook.  It fits everyone from the family, the single bloke, the student wanting to learn how to cook, the elderly, full time workers or stay at home mums,  I hope I won't be asked any more questions about what type of food it is!!

Over the next few days I will be changing the name in all forms of social media. I will also be changing my logo so please stay with me and continue to cook my recipes, like & comment on my posts.  

Thanks for reading and I would love to know what you think of the new name.

Cheers
Amanda

BTW... I still have some copies of 'Food before 5' for sale via my website www.foodbefore5.com.au


Tuesday, 11 November 2014

Gingernut biscuits

This post comes with a warning - these biscuits are so good that they may lead to overeating....  
The ginger & orange rind combination make these cookies taste and smell absolutely divine and are undoubtedly the best gingernuts I have ever eaten. Bake them for 15 mins and they will be soft & chewy, leave them a little longer for a crunchier biscuit. 

Give them a go today.
Enjoy,
Amanda x


GINGERNUT BISCUITS

  • 2 ½ cups self-raising flour
  • pinch salt
  • 1 Tbspn ground ginger
  • 1 tsp bicarbonate of soda
  • ¾ cup caster sugar
  • 125g butter
  • ¼ cup golden syrup
  • 1 egg
  • 1 ½ tsp grated orange rind


1. Preheat oven to 160 degrees C. Line 2 oven trays.

2. In a large bowl, sift flour, salt, ginger & bicarb soda.  Add sugar & stir to combine.

3. In a separate bowl, add butter & golden syrup.  Heat in microwave for 1 to 1½ mins or until they have melted together.   Stir to combine & pour over dry ingredients. 


4. Add egg and orange rind & mix to form a stiff dough. 


5. Using a tablespoon measure, scoop up 1 Tbspn mixture & form into a ball.  Place on oven tray & repeat with remaining mixture.  Leave room between biscuits for spreading.  Lightly flatten balls with your fingers.  


6. Bake in preheated oven for 15 mins. NOTE: Bake them for 15 mins and they will be soft & chewy, leave them a little longer for a crunchier biscuit. Remove from oven & trf to wire rack to cool.

Eat in moderation!


Sunday, 9 November 2014

Spinach, chickpea & fetta pie

Spinach and ricotta is a great combo and is even better with puff pastry, eggs & fetta added in. This pie is extremely simple to put together and makes a lovely dinner accompanied by a fresh salad.  A great summer dish.


SPINACH, CHICKPEA & FETTA PIE

  • 1 onion, finely diced
  • 2 tsp minced garlic
  • 500g frozen spinach (thawed)
  • 400g can chickpeas, drained
  • 500g ricotta cheese
  • 4 eggs
  • pinch salt
  • 2 sheets puff pastry
  • 50g fetta


1. Preheat oven to 180 degrees C. 

2. In a large bowl, place onion & garlic.  Microwave for 1 to 2 mins or until softened. 

3. Squeeze excess moisture from spinach & add to the onion along with chickpeas, ricotta, eggs & salt. Mix to combine.  You may need to use your hands to ensure mixture is thoroughly combined.


4. In a 22cm springform tin, line the base & sides with puff pastry with any excess overlapping as shown.  You may need to cut the pastry to ensure the base & sides are completely covered. 


5. Pour mixture into the pastry case & press down roughly. 

6. Roll any excess pastry up to form a border around the top of the pie.


7. Crumble over fetta.

8.  Bake in preheated oven for 30 mins.  Remove from oven & allow to cool in tin. 

Saturday, 8 November 2014

Vegemite & cheese pull apart

Scrolls are one of my favourite snacks and sometimes it is great to do something a little different with them.  Squash them into a cake tin and they bake together to form a vegemite & cheese pull apart that you and your family will love.  Same goes for any filling you like.  We also love pizza pull apart with tomato paste, ham, salami, olives, herbs & cheese.

Enjoy,
Amanda 


Vegemite & cheese pull apart

  • 3 cups self-raising flour
  • 2 cups natural Greek yoghurt
  • 2 Tbspn vegemite
  • 2 cups grated cheese

Preheat oven to 200°C.  

In a large bowl, add flour and yoghurt. Mix with a spoon to combine then turn out onto a floured surface and bring together with your hands. 


Roll out dough to a large rectangle approx.  ½ cm thick. 


Spread vegemite all over the rectangle.  You may want to heat vegemite for 20 seconds in the microwave to make spreading easier.  Cover with cheese.


Roll up the long end of the rectangle to form a large sausage. Cut into pieces approx. 4 cm thick.  


Instead of placing face up on a tray (like normal scrolls), place them in a lined or greased springform cake tin.  TIP - place the larger ones on the outside and the smaller ones in the middle. Squash them in together like shown:


Bake in preheated oven for 25 mins. Check the middle ones to make sure they are cooked.   Remove from oven & EAT!!


Monday, 3 November 2014

Fried rice

I don't eat fried rice as much as I would like but some days I get organised and cook the rice earlier. It is a fantastic accompaniment to most dishes and especially my apricot chicken curry found here Apricot chicken curry.

It is from my cookbook 'Food before 5' but I have decided to share as it makes a great side dish or light lunch.  Simple, healthy and great!


Fried rice
  • 200g bacon pieces
  • 2 sticks celery, diced
  • ½ red capsicum, finely diced
  • 2 shallots, finely sliced
  • 200g mixed frozen vegetables
  • 2 eggs, lightly beaten
  • 3 ½ cups cooked rice
  • 2 Tbspn soy sauce

In a large frypan over medium to high heat, fry bacon for 5 mins or until cooked through.

Add celery, capsicum, shallots & mixed vegetables & cook for 10 mins.

Add eggs & cook for a further minute.

Add the cooked rice & mix through the bacon & vegetables. 

Pour soy sauce over rice & vegetables & stir to combine.

Note:  Rice generally doubles in size when cooked.  1 ¾ cups uncooked rice makes approx  3 ½ cups cooked rice.